
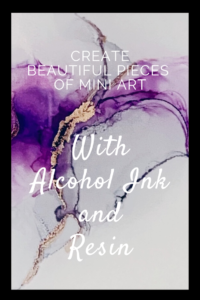
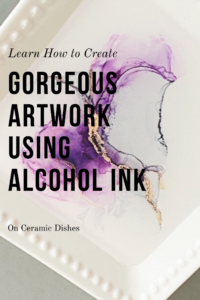
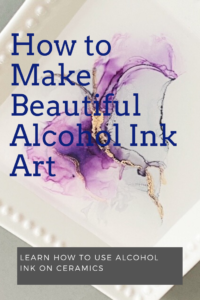
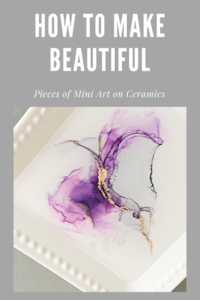
Create Beautiful Mini Pieces of Art with Alcohol Ink on Ceramic Dishes
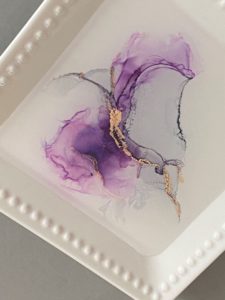
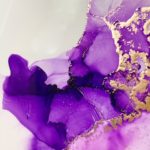
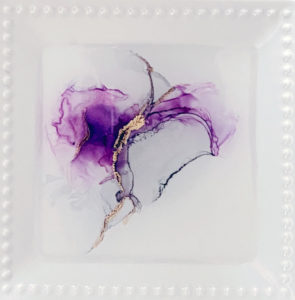
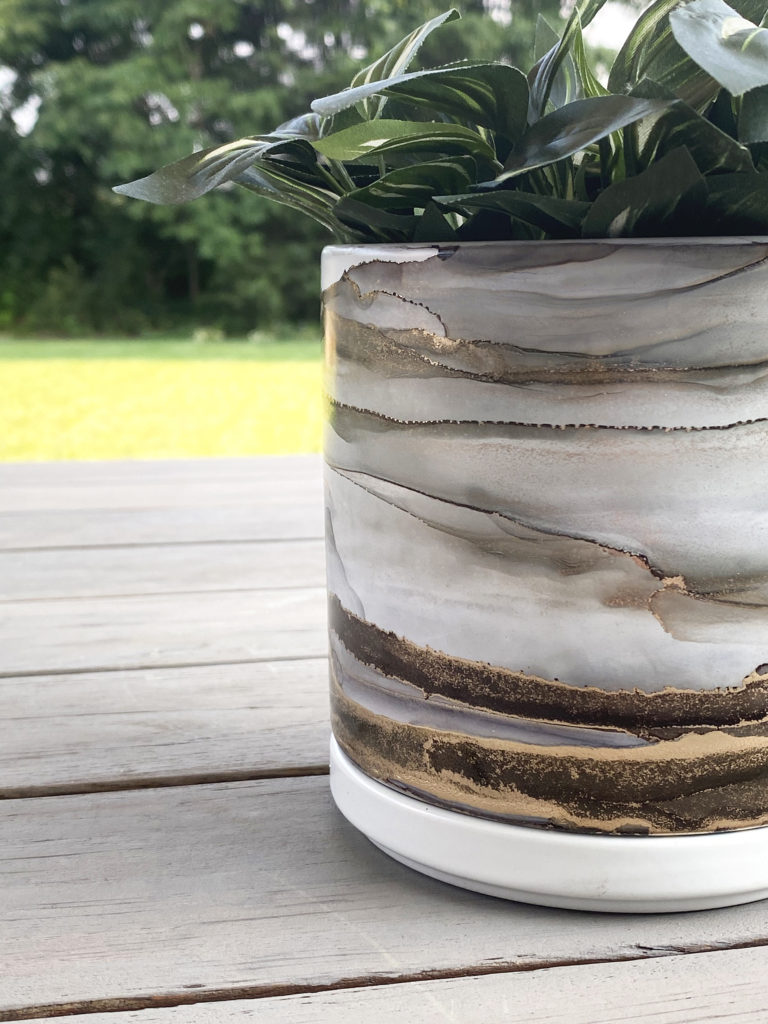
Have you jumped into Alcohol Inks yet? In this post I will show you how to create beautiful mini pieces of art on ceramic dishes and then seal them with resin. Ceramics are one of my favorites to use Alcohol Ink on primarily because mistakes are easy to remove. This piece is my current favorite.
This post contains affiliate links to help you find the products that I use. Should you decide to use any of these links and make a purchase I do receive a small commission at absolutely no cost to you.
To make this dish you will need the following supplies:
1. Ceramic dish with edges that come up from the side
2. 91% Isopropyl Alcohol
3. Alcohol Ink in your choice of colors. For this one I used Copic Various Ink Refills in Cool Gray 2 and Violet. You can find them here. I purchase most of my inks from dickblick.com. The Brass in the center is Pinata, metalliacs can be tricky so I recommend a bit of practice on tile first. I also use Ranger Tim Holtz inks frequently and they are also available at dickblick.com as well as at Hobby Lobby. I have found pricing to be better at Blick unless you are using a coupon.
4. Krylon Kamar, Krylon UV Resistant Clear Coating. These are used to seal the ink before poring resin. These can be found at Amazon, Blick, Walmart, Hobby Lobby and probably any craft store.
5. Painters Tape
6. Resin, the brand I use is Stonecoat Countertop from https://stonecoatcountertops.com . I chose this company because their resin is heat resistant to 500 degrees. I make quite a few coasters and trays and I didn’t want how coffee mugs sticking to the finished surface. There are several other brands out there also, for instance ArtResin is very popular brand.
7. A small level, plastic cups and wooden sticks for stirring (craft sticks).
8. Torch (to break bubbles in your resin)
Let’s get started
A note about safety. Alcohol, in particular 91% alcohol is toxic when inhaled in large quantities. Some people are also very sensitive to the smell so you might consider using a respirator when working with it.
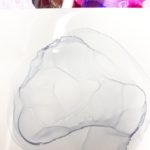
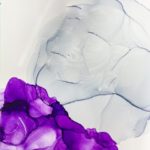
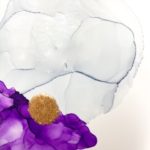
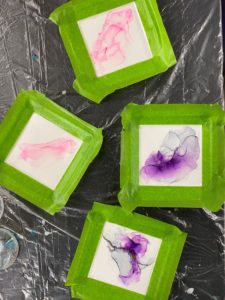
The first step to take is to make sure your dish is clean. Use a bit of Alcohol and wipe your dish down and wait for it to dry (just a minute or two). Next you get to play. For the dish above I dropped some ink {one color, gray first) on the plate and then dropped some alcohol next to it. I then picked up the plate to move the alcohol and ink around until I had an outcome I was happy with. I did the same thing with the violet. Next, I placed a very small amount of the brass in the center with some alcohol right on top of it and moved it around using the squeeze blower for cameras. They look like this.
If this is your first time with ink, it will take some trial an error. If you don’t like what you have done put some alcohol on paper towel and wipe it off. Ink can be moved around with an embossing gun, squeeze blowers for cameras, hairs dryers, straws and just blowing on them. The photos of the process done on a piece of white tile are shown below.

Sealing Your Ink
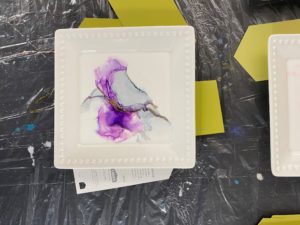
Once your ink has dried you will want to take your painters tape and line the sides of your dish. This is to protect the sides from the sealer that will be used in the next step.
The first spray (in a well ventilated area and with a mask) is Krylon Kamar Varnish in very light coats, 2-3 times, completely drying in between. This will keep the ink from movin g when you add the resin to your dish.
The next spray you will use is Krylon UV resistant clear. This protects the ink from fading in sunlight, use the same steps, 2-3 light coats.
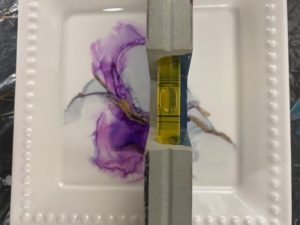
Once everything has dried remove the tape. I like to see exactly where my resin is going and I don’t want to get any of it on the tape when I pour. Make sure all of your edges are clean and then move your dish to a level surface. Use a small level to make sure, no crooked resin lines. The table I use to pour resin on is not at all level so I use the paint cardboard color samples to make them level.
Mixing and Pouring Your Resin
The next step is to mix your resin. You will need to determine the amount of resin you need by using a resin calculator. There are a few on line but the best one I have found is from Art Resin. I know that a 4″ x 4″ area will require 1 ounce of resin, .5 ounces of the actual resin and .5 ounces of the hardener. This requirement is for the particular brand I use, if you are using another brand please follow the manufacturers instructions.
You will begin with separate cups for each part of the resin. I have plastic cup with ounce measurements written on them with a sharpie. I put the empty plastic cups for the resin and hardener next to the one with the measurements and fill to the height of the mark for .5 ounces. The hardener is then poured into the resin and you stir with a wooden stick. In my case 3-4 minutes. I also like to place the cup I am stirring in a very warm almost hot bowl of water. This will help get rid of the bubbles as well as making the resin easier to use.
After your resin has been mixed for the appropriate amount of time your are ready to pour it into your dish. Just pour, slowly, right in the middle. Let it sit for a minute or two and then use your torch (not too close) to break the bubbles that have risen to the top. Light quick passes so you don’t burn your resin. I usually let it sit for another few minutes and then torch it again. If you have any wet resin on the edges of your dish, use some alcohol on a cloth, it will take it off while it is still wet. Once the resin is dried it will be almost impossible to remove it.
Finishing Up
After all of the bubbles are gone you will want to cover your dish with a plastic container or in my case, I have made a tent over my table out of PVC pipe and plastic. This works well when you are working on large pieces or a quantity of pieces.
This all seems like quite a few steps but it goes by quickly. At this point it’s just a waiting game. I let my pieces sit for 24 hours before I even breathe on them. It is another six days before I will use or ship an item.
If you have enjoyed this post please share on Pinterest, Facebook or Twitter by clicking on the Social Share Buttons along the side of this post.
If you have any questions about this or any other related projects let me know in the comments below.
Thank you so much for reading!!!!


Kim, The dish will make a great gift. I have alcohol inks and other things needed
to design a dish, but I love the one you used with the raised balls. Can you tell
me where I can find these dishes? Yours is really pretty!
Hi Jean most of what I have found have been from Marshall’s, TJ Maxx, Home Goods and thrift stores. Since Covid I haven’t been able to find anything I liked, I hope you have better luck.
Are these primarily decorative or can you use it for food?
Hi Donna, the resin I use is heat resistant and food safe, made by Stone Coat Countertops. There are quite a few resin manufacturers out there now so if you were to use another one you would have to check with that company.
Hi’. I have trouble with the ink drying. I have let my pieces set for two weeks and there are still sticky spots on my art I mostly use Ranger ink.
Barb
Hi Barb, Two weeks is a long time. The things I can think of is if your ink is really thick or if the room where your piece is drying is hot and humid. Usually ink dries quickly especially if you are using an embossing gun to dry it. Try adding a bit of heat to it but not too close.