Create a Fabulously Easy DIY Christmas Tree from Paper Mache Cones
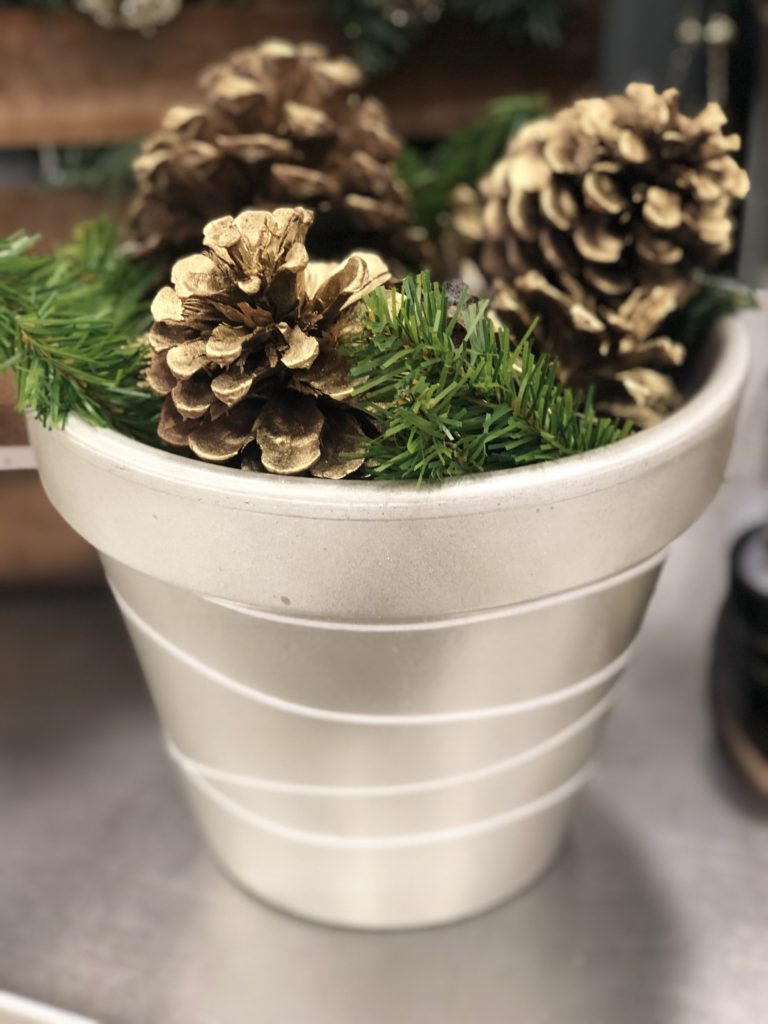
Need a fabulously easy DIY Christmas tree project? This is it, very simple and quick. In a previous post, which you can read here, I shared how I had been asked to create a display using a limited choice of products. For the first part of my project I painted terra cotta pots using various spray paints, they turned out amazing. The instructions for the pots and these fabulous trees are essentially the same. They are so easy and fun to do. Let’s get started.
To create your fabulous Christmas trees you will need a paper mache cone shaped tree. I found mine at Hobby Lobby and bought two that were 23″ tall and three shorter ones.
I used a silver spray paint for the base coat on a few of them and white on the others.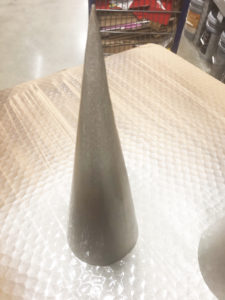
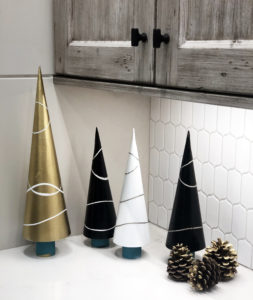
Make sure the base coat is dry and you have the coverage you want. Next, put the rubber bands on the trees. This is a bit more difficult than the pots because they become so narrow at the top. Make sure they are smooth and tight against the cone before you move on to the next step. Once the rubber bands are in place you are ready for your top coat. Go ahead and spray your color of choice, several light coats are best for good coverage.
Once the final coat is dry take the rubber bands off and you will be able to see the lines revealing your base coat. Just like the pots, you may have to smooth down the paint with your fingers where the rubber bands meet the edge of the stripe.
This project could be called complete at this point but they really needed some trunks. The trunks would have to be big enough for the tree to sit on a flat surface without falling over.
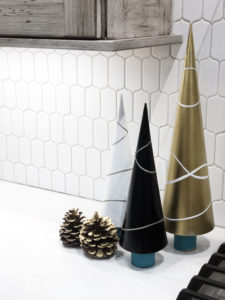
At Lowe’s, and I am sure other places too, they carry wooden dowel rods. I found one that was 1 1/2″ in diameter. I determined the size I wanted each trunk to be. They need to be long enough so the tops fit snug inside the cone. Lowe’s was able to cut them for me, so each cut was straight (that probably wouldn’t have happened if I had cut them).
The next step was more paint, I used Krylon Matte Waterfall Chalky Finish Spray Paint and painted each one. 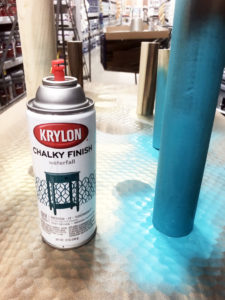 When they were completely dry I used E6000 glue and put it on the top and a little bit around the upper edge and stuffed it to the cone. I found a spot where they would be left standing undisturbed while they dried. E6000 is a terrific glue, it will glue almost anything. The only drawback is that it takes 24 hours to cure. The next day everything was dry and ready for display.
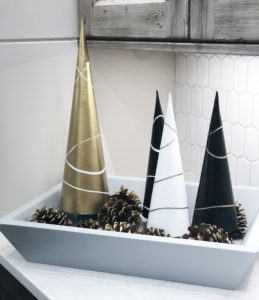
I had a wooden tray I painted with Krylon Matte Misty Gray Chalky spray paint, two coats and my project was complete.
I have one more tree to show you, its coming soon!


 :