
Valspar Furniture Paint Update Using Antiquing Glaze
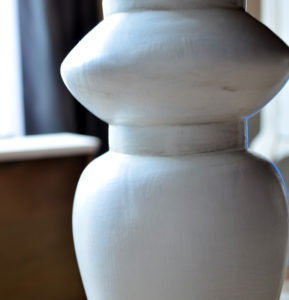
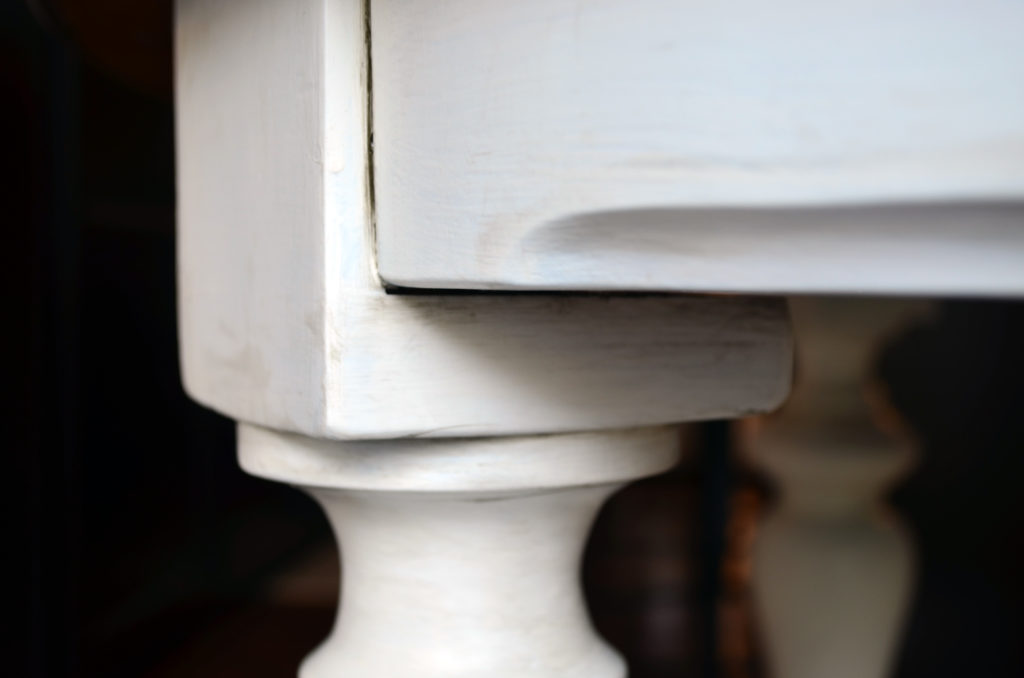
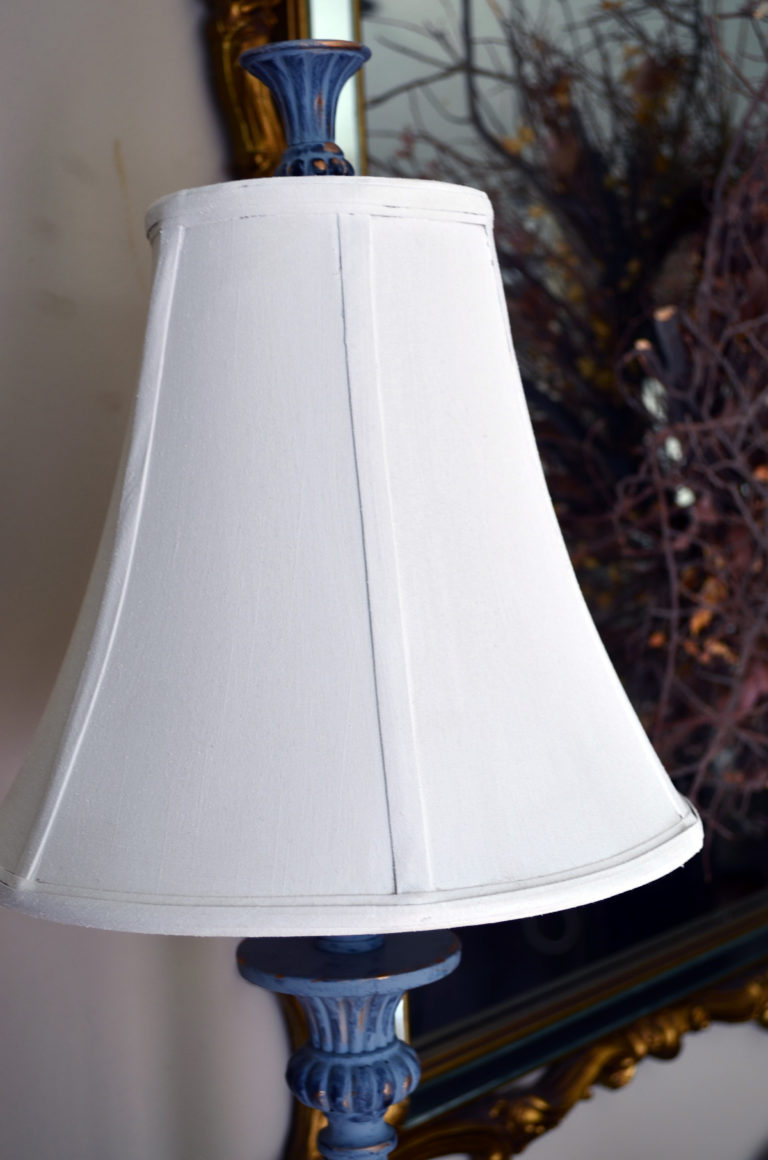
Just a quick update on using Valspar’s Furniture paint with Antiquing glaze. In case you missed my original post you can read it here. I started with an round dining table from a thrift store, it is the perfect size for my dining room and I had been looking for one for a long time. The top, however, was a mess you can read all about what I did to make it look like a wood grain top here. The legs were in pretty good shape but were very shiny. They looked high gloss shiny so knowing how important prep work is I gave them a quick sanding first and then painted it with a coat of Bonding Primer.
Even with Primer, it took three coats to get the coverage I wanted. After letting each coat dry (8-12 Hours), I was ready to apply the glaze. Applying glaze to the detail on the legs was fairly simple, I used Valspar’s Antiquing Glaze and a small hobby brush. It was applied to the areas where I wanted to accent the detail. Working in small sections I applied the glaze and then wiped off the excess with a lint free cloth. I wanted a very subtle affect so when I was painting it on I did so very lightly.

I was done at this point, there is also no need to topcoat after using the glaze unless you are doing a heavier glaze finish then you may want to coat with a polycryclic or other water-based topcoat.
I also finished a run of cabinets in my family room that I am using for a media area.
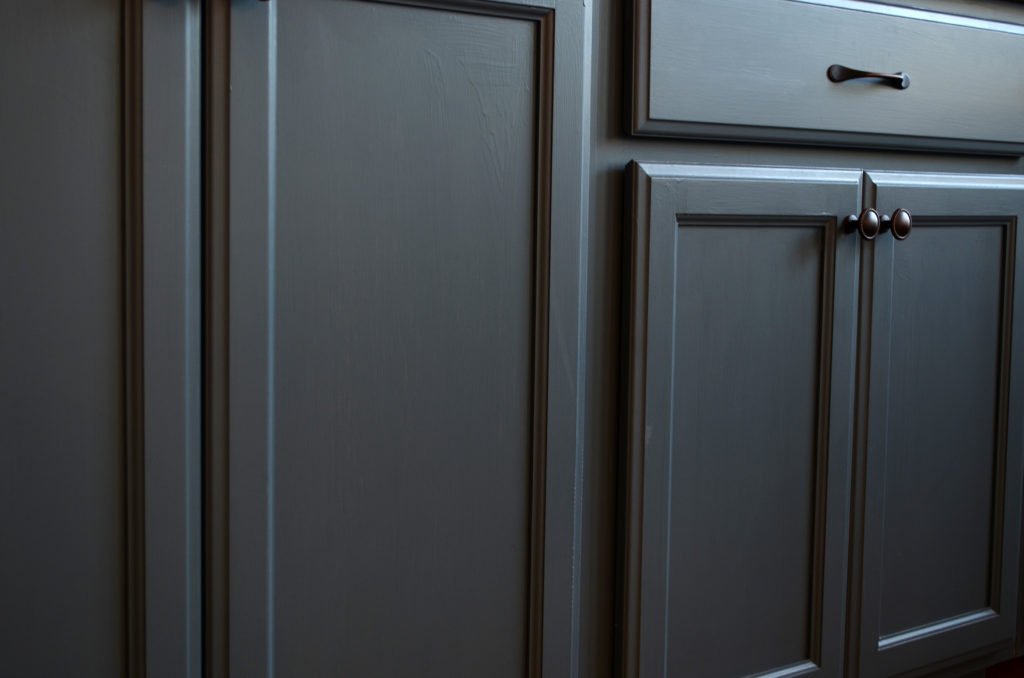
Still a favorite paint among the types of paints I have used.
I hope you enjoyed the update, if you have any questions just put it in the comments and I will get back to you soon.
Happy Fall!
What is that dark color on the cabinets its gorgeous!
Hi Nina, Its called Midnight Fog. Its an old Valspar color but still in their computers CI197.